Well I guess I'm really getting back to my hippie roots here. It wasn't my intention to start the Vegan Eats Project with such basic staples, but as the saying goes: "When in Japan, eat all the tofus."
Tofu can be made and prepared a million ways, but in essence it's extremely simple: grind, boil, and strain the beans and that gives you soymilk—add a coagulant (such a lovely word, isn't it?) and soymilk becomes tofu. While its history goes back far enough to make origin stories hard to pin down, I personally favor the accidental invention theory. This version of the story says someone in ancient China put some impure sea salt in their bean mush, saw it curdle, and ran with it. There were plenty of beans and sea salt around for this to happen eventually. Regardless, humans stumbled on this small miracle some thousands of years back, and ever since it's been a staple in many cultures, and a versatile source of protein for vegetarians around the world.
People often say tofu is just a flavorless sponge that soaks up whatever you throw on it (I think they think that's a good thing). While there's some truth to this—"Koya dofu" is a dried tofu that actually works exactly like a sponge—tofu can have a delicious flavor of its own. Especially here in Japan, you can easily find tofu that is made fresh that day, which is even tasty raw, garnished with soy sauce and green onions. You probably can't buy fresh tofu where you live, but alas, you can make it yourself!
Recipe: FRESH TOFU
Ingredients:
- 3 ¼ C (300 grams) Dry Soybeans
- 2 ½ tsp Nigari
Step 1: Soak the Beans
In cold water, overnight. That was easy! You're so good at this!
Step 2: Grind the Beans

Step 3: Boil the Bean Slurry (yum...)
Throw all your slurry in a pot, with a bit more water, and slowly bring to a boil. Stir continuously, running your spatula or wooden spoon along the bottom of the pot, as it will burn easily. Use a cooking thermometer to monitor the temperature, and turn off the heat at 195F (90C)... technically almost boiling. Then empty the pot into a large bowl, pouring over a sheet of cheesecloth (or into a nut bag).
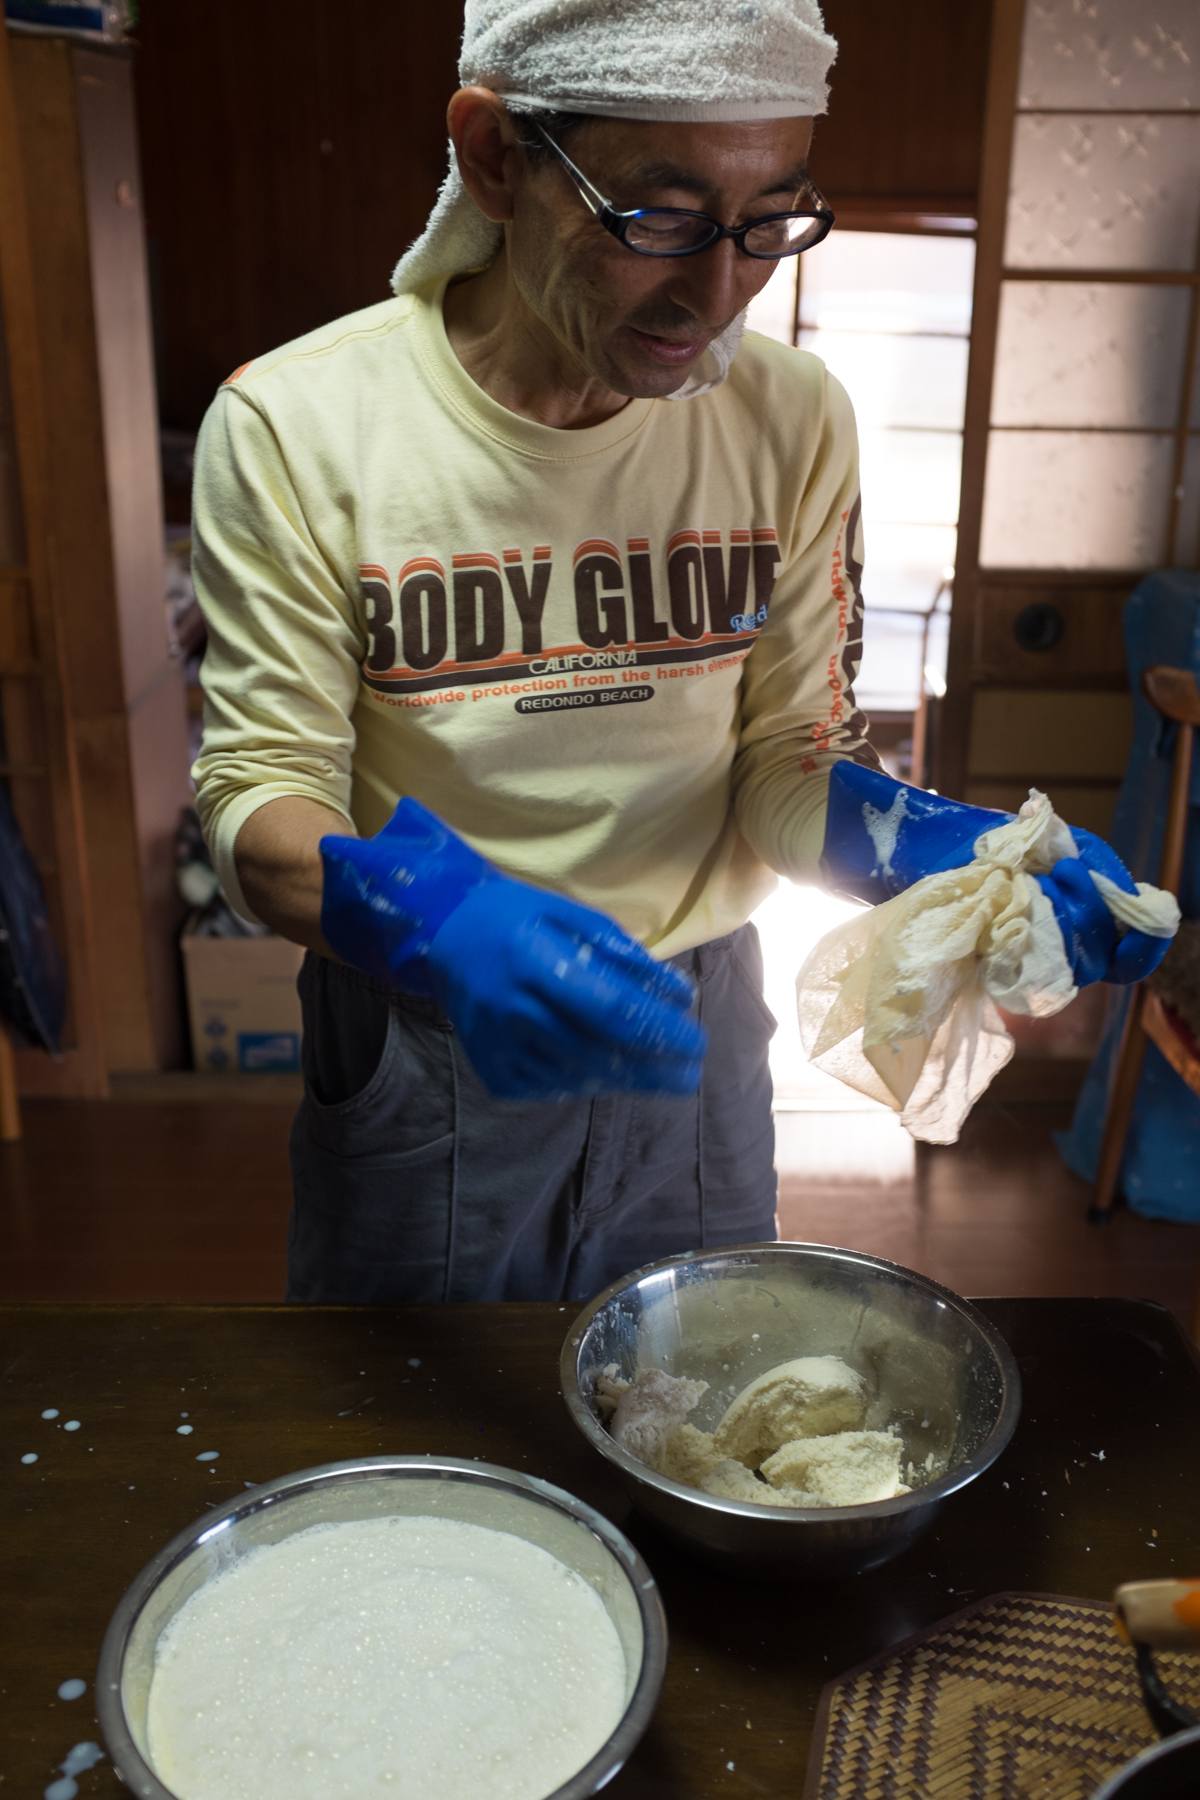
Step 4: Make Soymilk
Strain out as much liquid as you can through the cheesecloth. You can see that Yuji-san is using rubber gloves, because it's hot! The liquid is soymilk, and the pulp is called "okara." Soybean pulp might not sound very appetizing, but it's a hell of a lot better than okra (eww)! You can use okara in many ways, including adding to baked goods, veggie burgers, or more traditional Japanese dishes, so don't toss it out. Plus it's chock-full of nutritional goodness.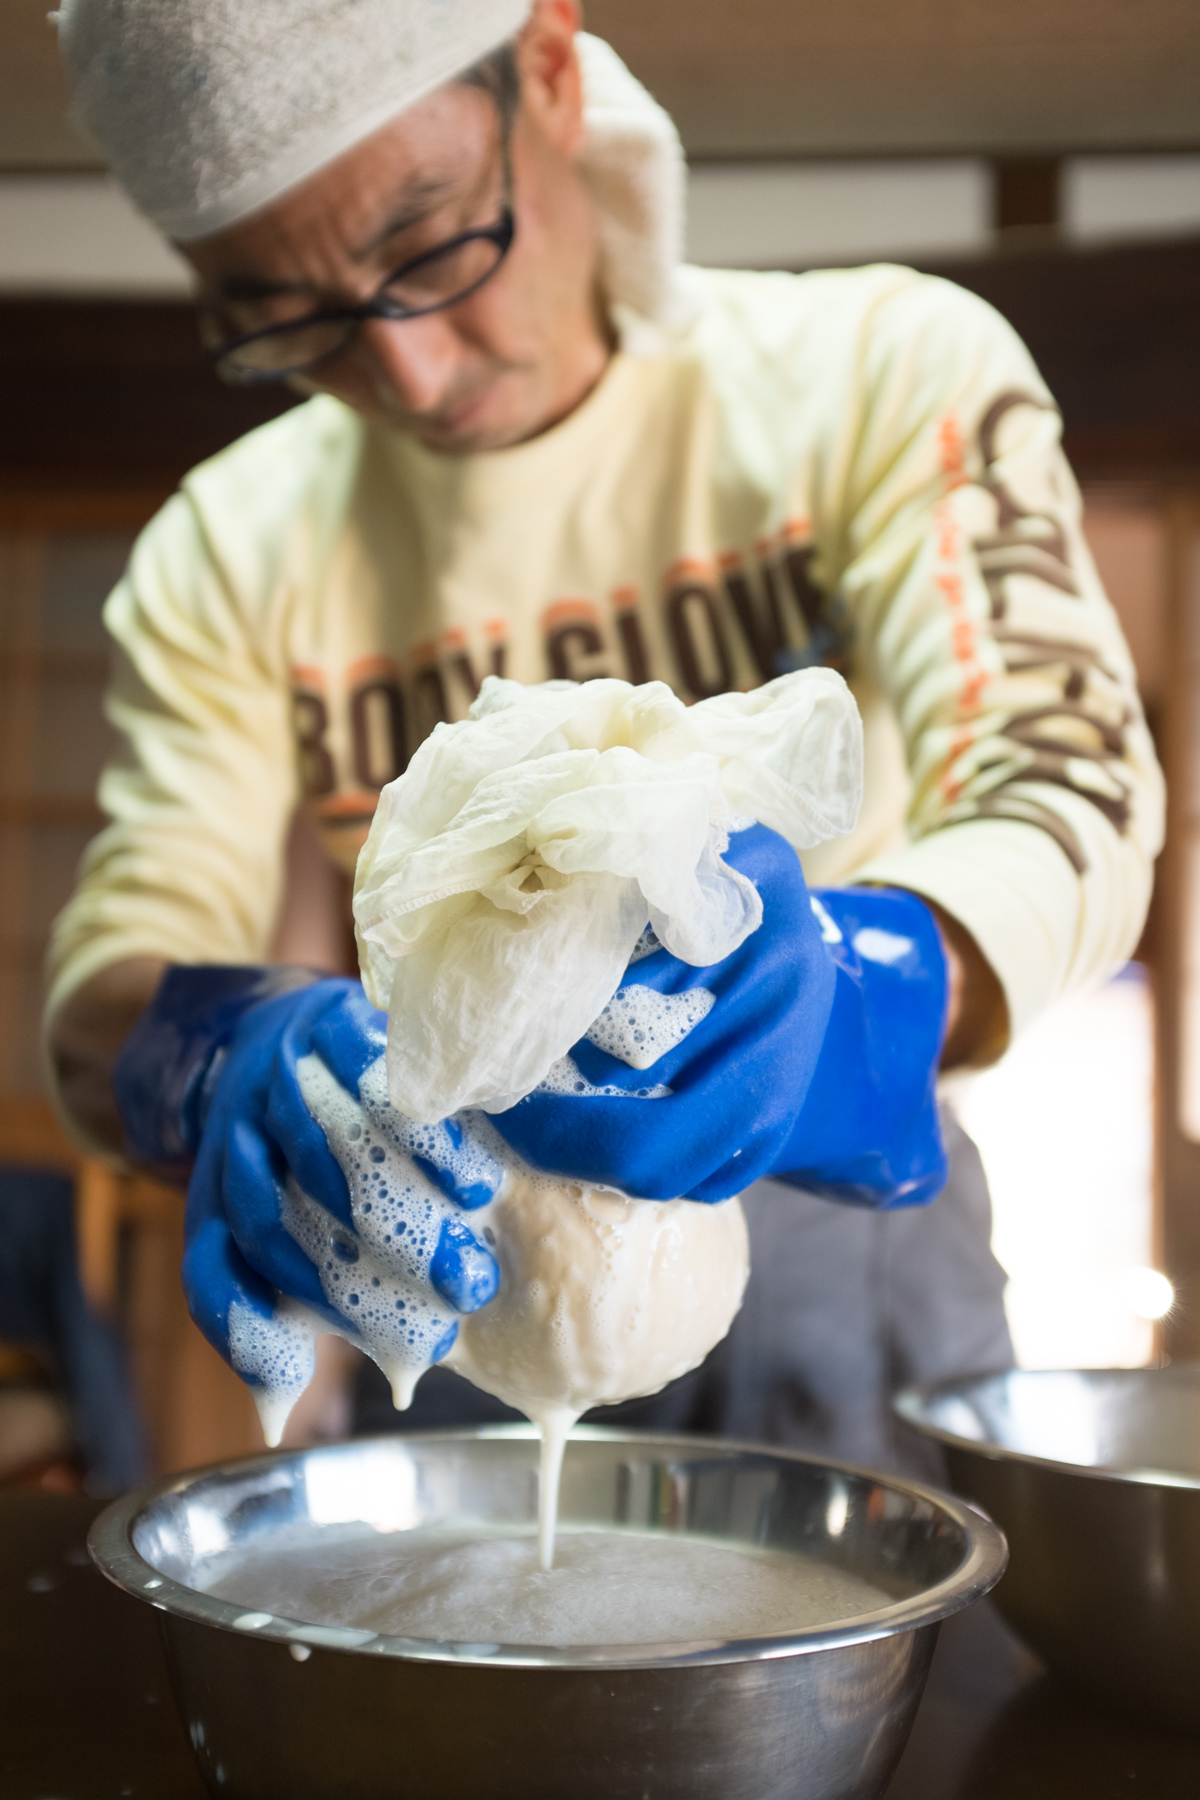
Step 5: Add the Nigari
There are a number of coagulants you can use to make tofu, including some more commonly available options like lemon juice. This recipe, however, uses nigari. Nigari is a form of magnesium chloride, which is a natural constituent of sea water. It is a bi-product of sea salt production, and should be available at Asian/Japanese markets, or some health food stores. It comes in crystalline form, but this recipe uses the liquid version.Back in the big pot, bring your soymilk to a boil. Once again, stir continuously to avoid burning. You don't have to monitor the temperature this time. You'll know it's boiling when it becomes super foamy, and that foam expands quickly to the top of the pot. Take it off the heat before it overflows! Allow the soymilk to cool down to somewhere between 169-187F (76-85C).
Mix 2 ½ tsp (about 12 grams) nigari with ¼C water. Stir the soymilk quickly in a circular motion using a flat wooden spatula. Count five good stirs and then quickly and steadily pour in your nigari mixture. Now five more quick stirs then—STOP. Hold your spatula still and upright, stoping the swirling motion. When the mixture comes to rest, gently pull out the spatula and let things rest for a while (maybe 15 minutes). You're waiting for the nigari to work its magic: separating the curds (white fluffy bits) from the whey (a clearish liquid).
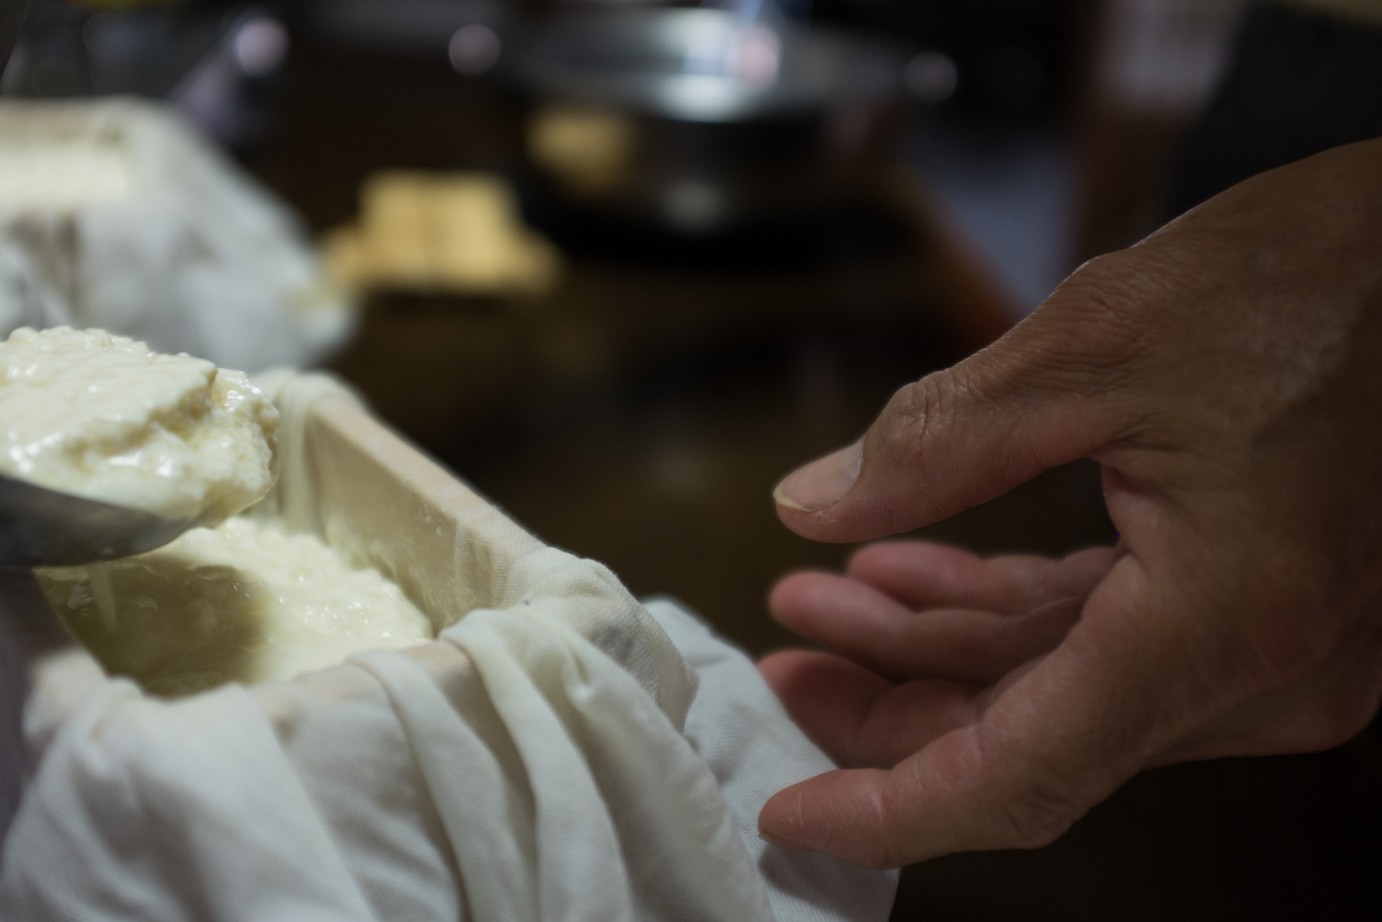
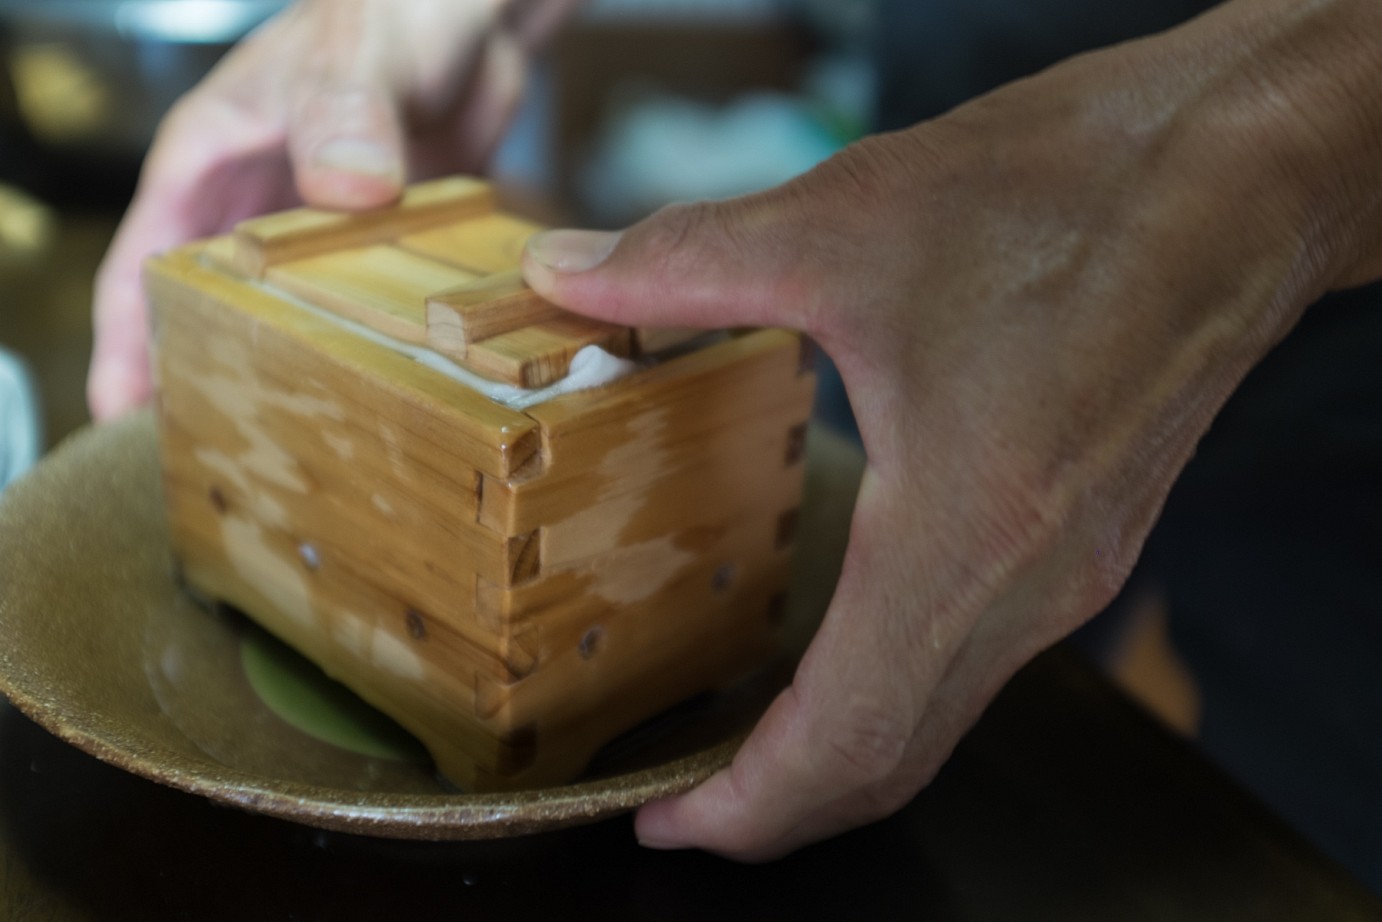
Step 6: Form Your Tofu
You'll probably have to improvise a tofu form, if you don't have one of these beautiful, wooden, mini tofu boxes. But don't sweat it, the shape doesn't really matter. You can simply use a small colander or metal strainer.
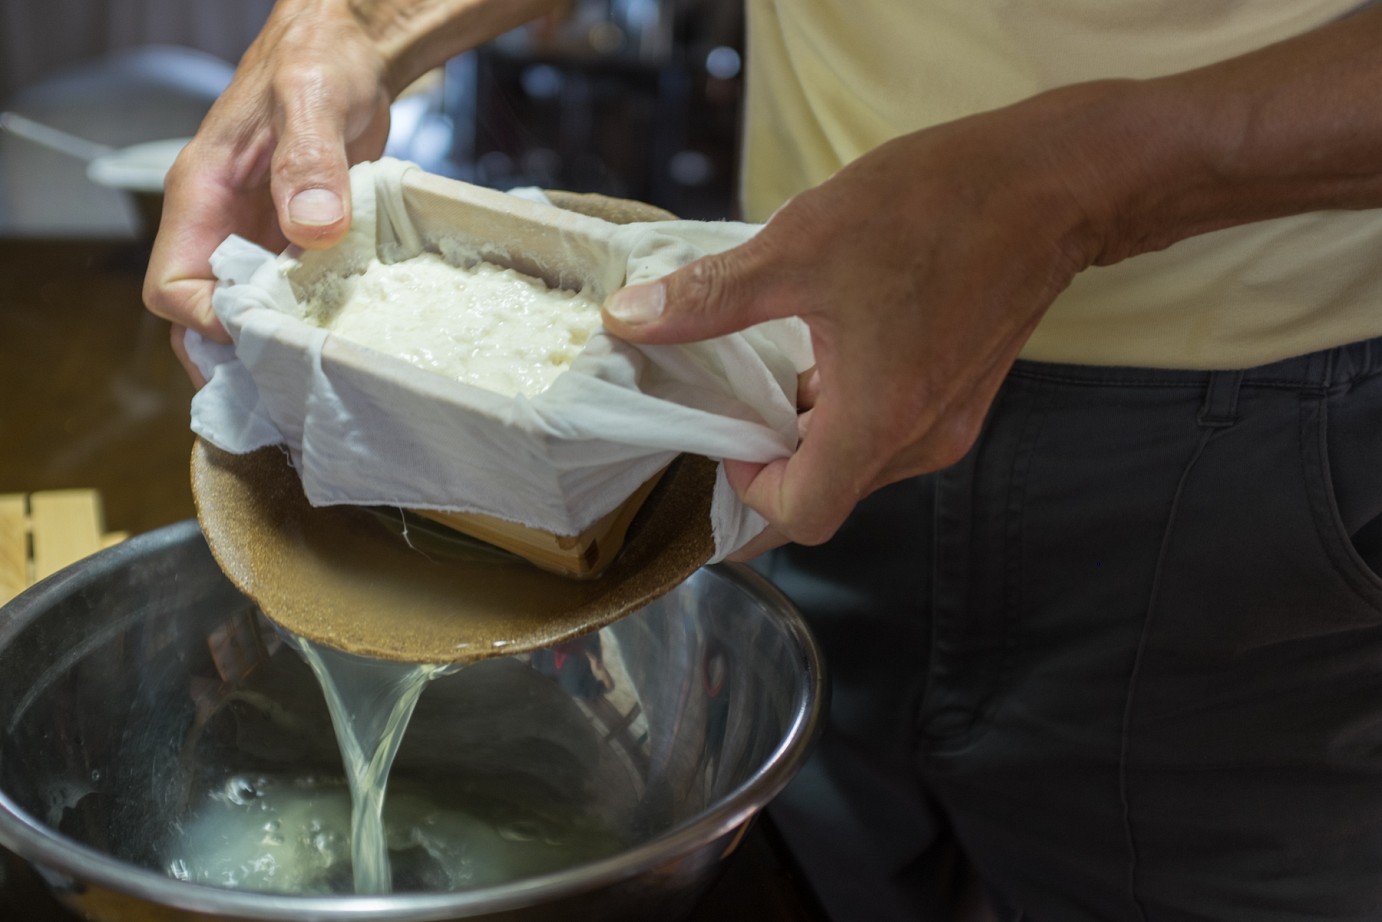
Step 7: The Water Bath
When you're done pressing your tofu, you'll want to release it from its mold. The best way to do this is under water. The cold water helps it firm up a little more, and the reduced gravity environment makes it easier to do without accidentally breaking your tofu into pieces.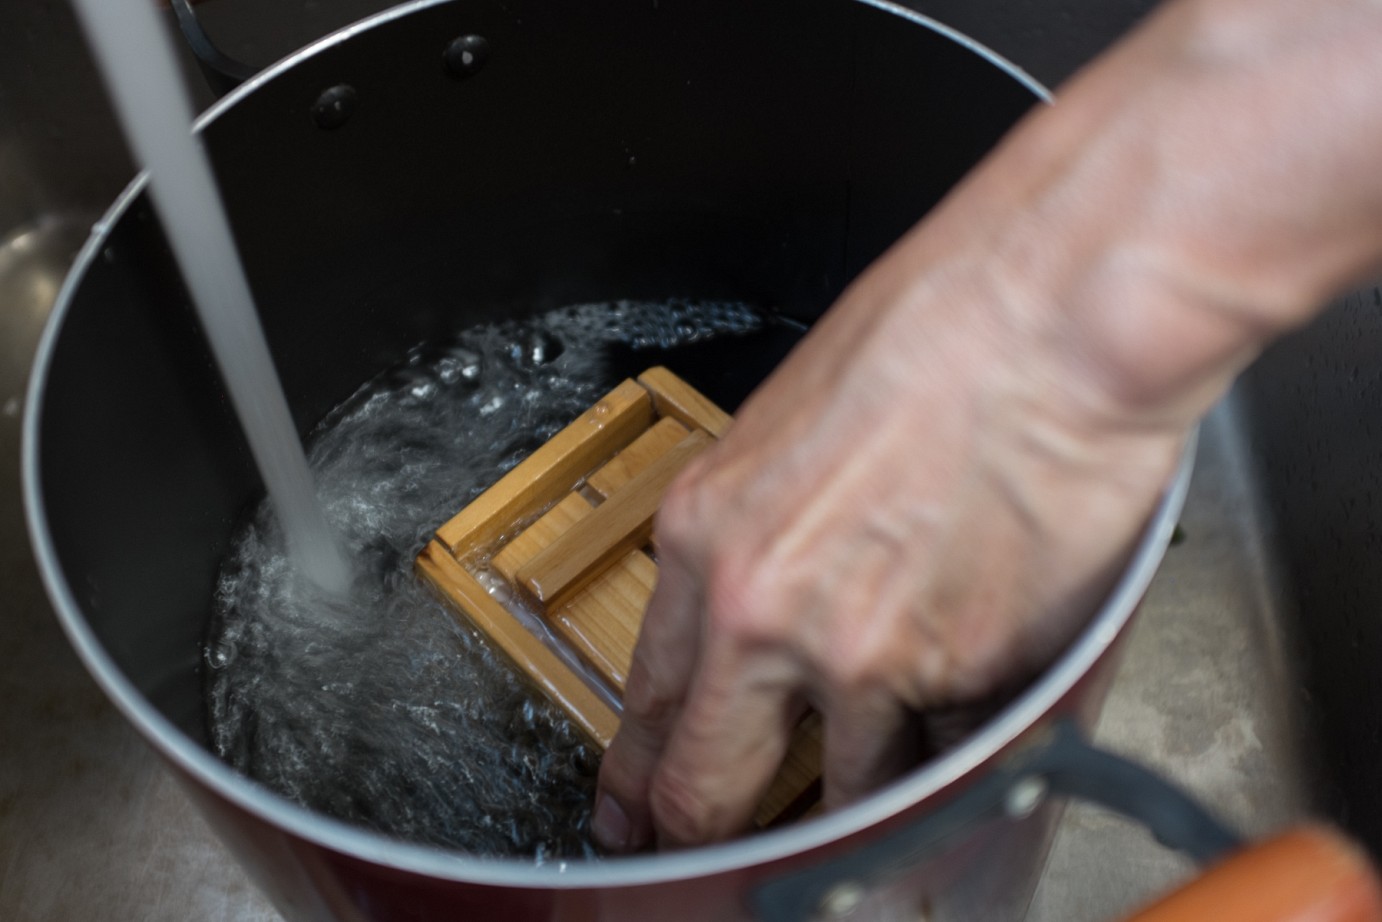

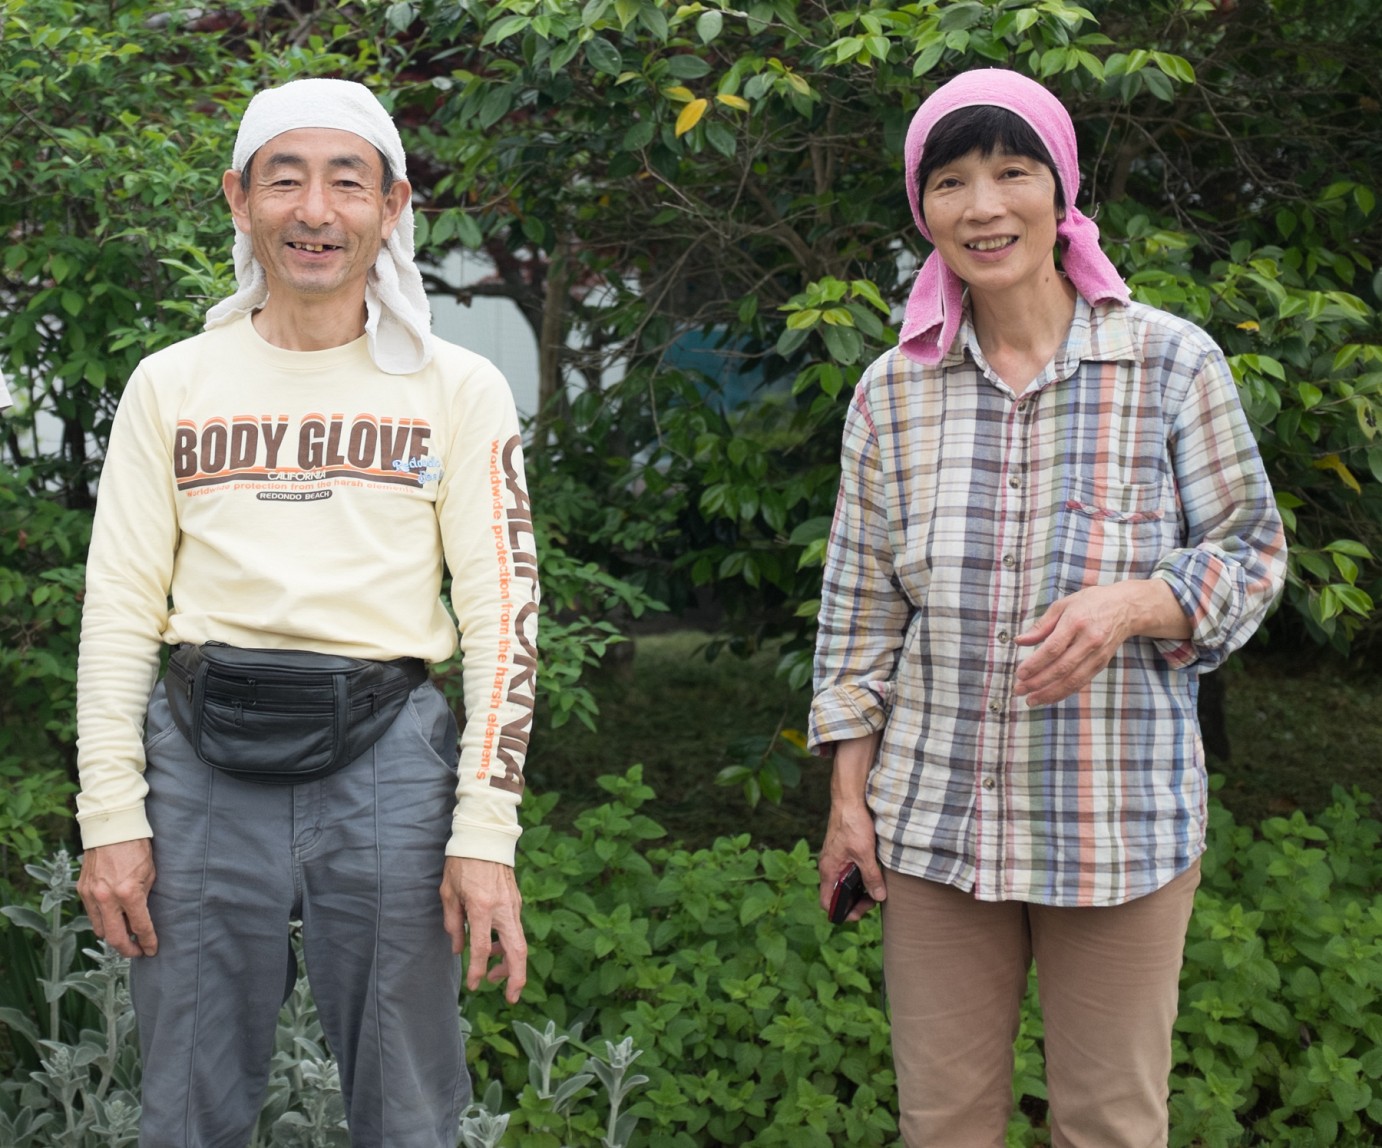
The Ono Farm Family
Yuji-san and Masako-san run a small organic farm on the Japanese island of Shikoku. I had the pleasure of living with them and helping out for a couple of weeks. They rent 25 small fields near their house, and spend every waking hour (and many when I sleeping) tending these fields, packaging and delivering produce, working with volunteers, and running events to promote sustainable agriculture. In addition to making their own tofu from time to time, they also make buckets and buckets of miso and umeboshi (pickled plums) every year. While not strictly vegetarian, their diet is mostly free from meat. As Masako-san explained, when you grow your own soybeans, rice, wheat, and veggies of all kinds, there's not much need for anything else. They have some chickens in their yard, but would never eat them because, Masako-san says, "after four years living with them, they're friends now." I hope to visit these lovely people again someday! Here's a link to the Ono Farm blog (Japanese only).
COPYRIGHT © 2016-2026 EARTH & EATS